🖼️ How to Optimise Images for SEO: Smaller Files, Better Rankings (Free Tools)
































Your images are probably the heaviest thing on your page — and Google ranks pages partly on how fast they load. One unoptimised photo can weigh more than everything else on the page combined, and most of that weight is invisible waste: pixels nobody will ever see.
This guide fixes that in four steps, with real numbers measured on the photos in this very post: one picture shrank from 1.5 MB to 117 KB — 92% smaller — in two steps, with no visible loss of quality, using only free tools at seotools.metacalculator.org.
Why images decide your ranking
Google's Core Web Vitals measure how a real visitor experiences your page, and the biggest — Largest Contentful Paint, or LCP — is usually a hero image. According to Google Search Central, a good LCP is under 2.5 seconds; a page whose main image takes 4 seconds to appear fails it, however good the words are.
Images matter twice. First, they slow the page: a 1.5 MB photo on a phone connection can add seconds to the load, and visitors leave before they read a word. Second, they are a search channel of their own: Google Images sends real traffic, but it can only rank an image it understands — through its filename, its alt text and the page around it. One job, two wins: a faster page and a second way to be found.
Step 1: Resize before you upload
The single biggest waste is uploading an image far larger than it will ever display. A phone photo is typically 4,000 pixels wide; a blog image displays at 800 to 1,200 pixels. Those extra pixels are pure dead weight.
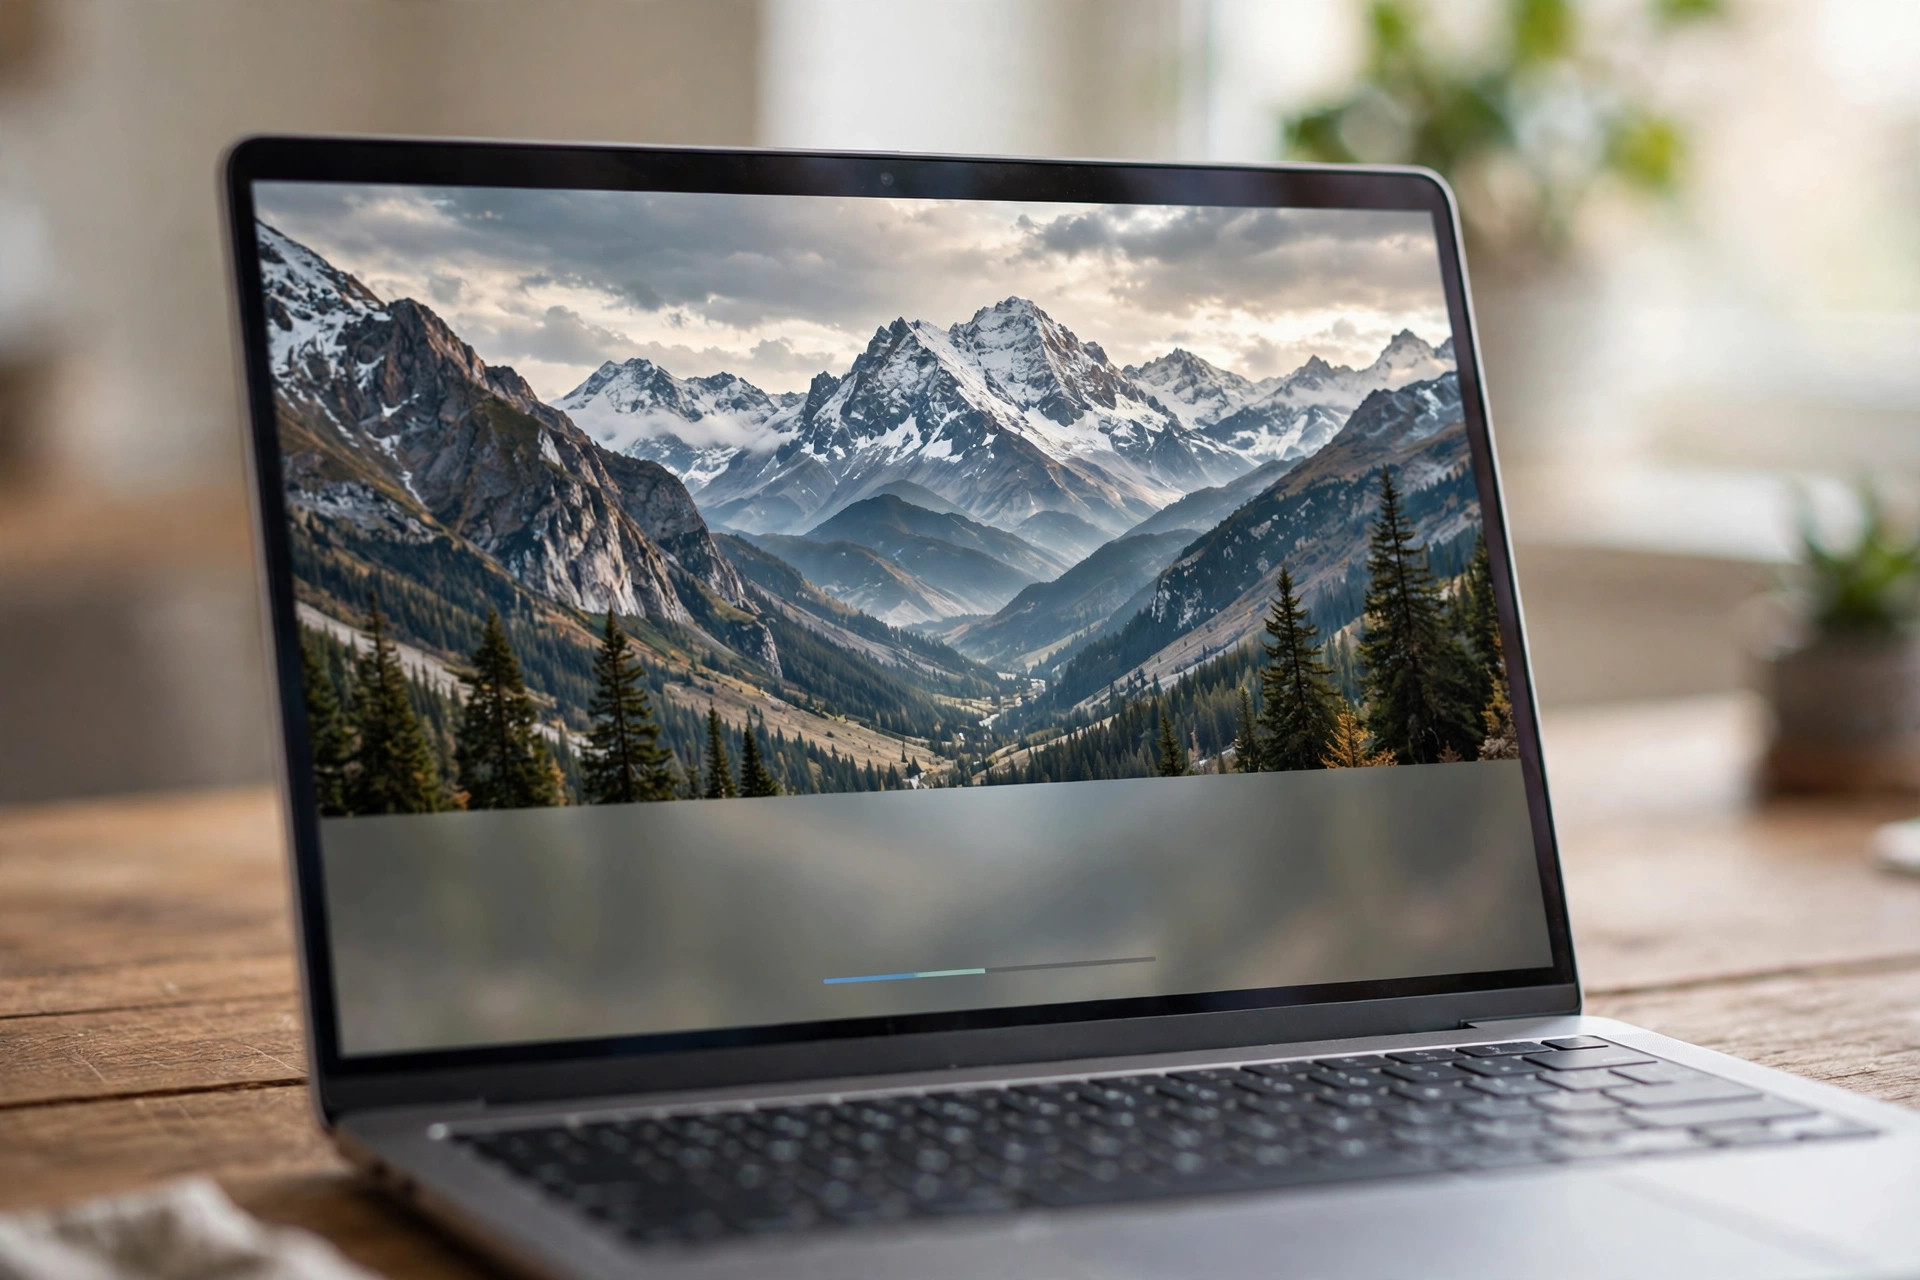
Here is the worked example, measured on the photo below this section. Straight from the camera at 4,000 × 2,667 pixels, saved as a high-quality JPEG, it weighed 1,573,032 bytes — about 1.5 MB. Resized to 1,200 pixels wide, the width this blog displays, the same photo at JPEG quality 80 weighed 119,598 bytes — about 117 KB: 92.4% smaller, before any compression trick at all. At 800 pixels wide — the size most in-body images display at — it weighed just 63,899 bytes, about 62 KB.
The rule is simple: never upload wider than the largest size the image will display — usually 1,200 pixels for a hero image and 800 for the rest. Use the free Image Resizer to set the exact width before you upload: resizing after upload does not help, because the browser still downloads the full file.
Step 2: Compress — quality 80 is the sweet spot
Once the size is right, compress. JPEG quality 80 is the sweet spot for photographs: below it, blocky artefacts start to show; above it, the file grows fast for a difference nobody can see. On our test photo at 1,200 pixels wide, quality 80 gave 119,598 bytes and quality 60 gave 81,293 — a third smaller again, but with visible softening in flat areas of sky. For most photos, 80 is where you stop.
Then switch format. The same 1,200-pixel photo saved as WebP at quality 80 weighed 76,436 bytes — about 75 KB, 36% smaller than the identical JPEG — matching Google's guidance that lossy WebP files are typically 25–34% smaller than comparable JPEGs. Every modern browser reads WebP, so there is no reason to ship JPEGs for photographs any more. Convert with the free Image Converter, or squeeze a file to a target size with the Image Compressor — both run entirely in your browser, so your photos never leave your computer.
Step 3: Name the file like a human
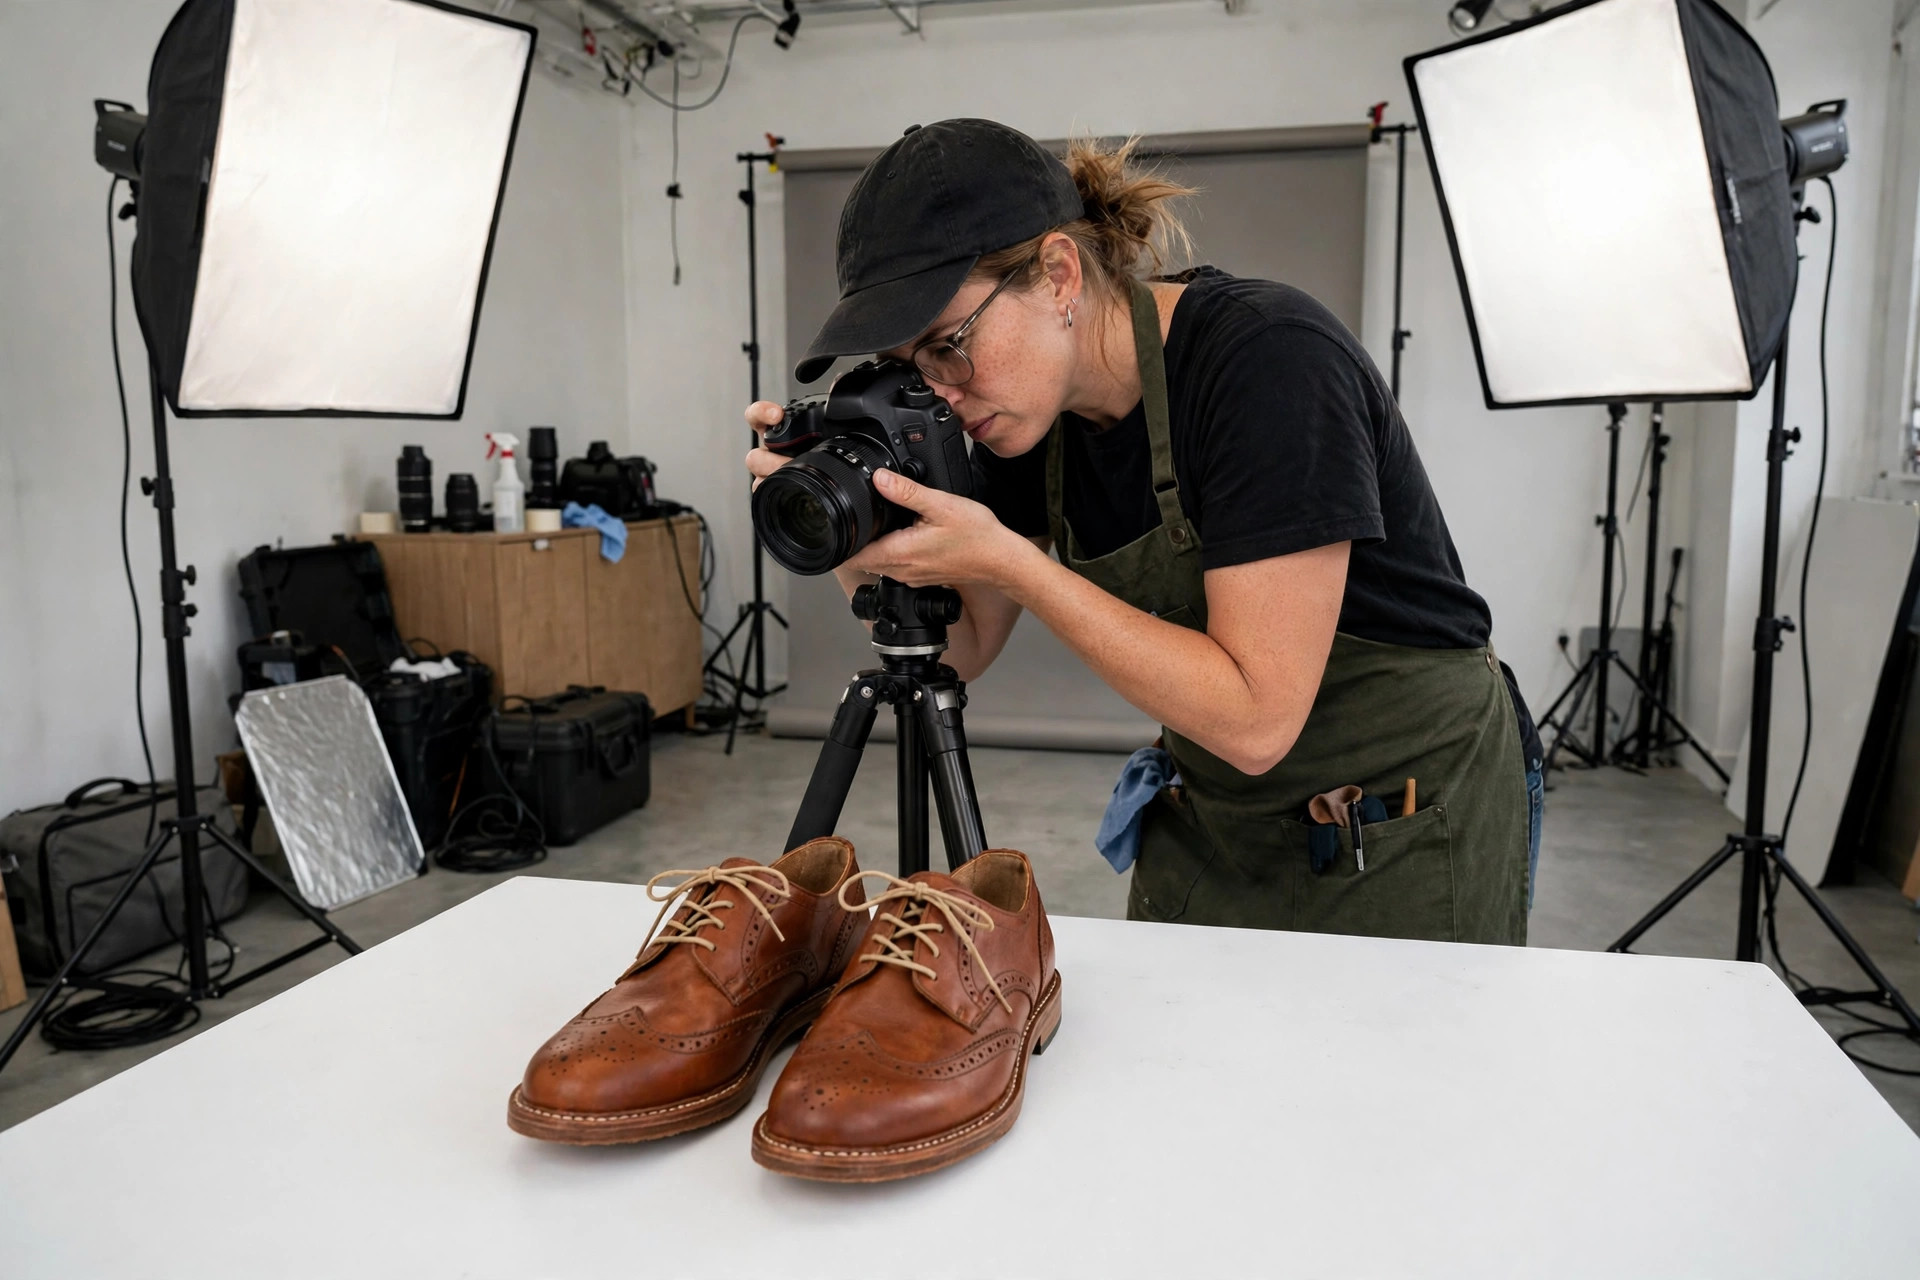
Google reads filenames. A file called IMG_4821.jpg tells it nothing; handmade-leather-shoes-brown.jpg tells it exactly what the picture shows. According to Google's image best practices, descriptive filenames help Google understand your images — and they help you too, when you look for the file six months later.
Three rules: use hyphens between words, not underscores or spaces; keep it short and honest — three to five words that describe the picture; and never stuff keywords. cheap-brown-leather-shoes-buy-online-discount-sale.jpg looks like spam to Google and to everyone else. Rename before you upload: renaming afterwards means changing the URL and losing any ranking the image had earned.
Step 4: Write alt text that actually helps
Alt text describes an image for two audiences: people who cannot see it, and search engines. A good one says what is in the picture, in plain words, in about 125 characters or fewer. Compare these:
- Bad: “image” — says nothing.
- Bad: “brown leather shoes buy cheap shoes online best shoes 2026” — keyword stuffing, and useless to a screen reader.
- Good: “Handmade brown leather lace-up shoes on a white background” — a person who cannot see the photo knows exactly what it is, and so does Google.
Write alt text for every image that carries meaning, and leave it empty only for purely decorative ones. One more check before you publish: photos can carry hidden data — camera model, date taken, even the GPS location where the shot was taken. The free Exif Reader shows you everything a photo carries, so you can strip location data before it goes on a public page.
3 mistakes that undo it all
1. Saving photographs as PNG. PNG is for logos, icons and graphics with flat colours and sharp edges. For a photograph it is the wrong format: the same picture that weighs 117 KB as a JPEG can weigh over 1 MB as a PNG, with no visible benefit. Photos go out as JPEG or WebP; PNG stays for graphics.
2. No width and height on the image. When the browser does not know an image's dimensions in advance, the page jumps as each picture loads — text shifts down, buttons move under your finger. Google counts that as Cumulative Layout Shift, another Core Web Vital. Always set width and height attributes so the layout is stable before the image arrives.
3. Serving the same giant image to phones. A phone screen is 390 pixels wide; it does not need your 1,200-pixel hero. If your platform supports responsive images, serve a smaller file to small screens — or at least make sure the file you upload is sized for the largest display it will ever get, not the camera it came from.
The 5-minute image routine
Before you publish any page, check every image: one, resized to its display width — 1,200 pixels for a hero, 800 for the rest? Two, compressed — JPEG quality 80, or WebP if you can? Three, does the filename describe the picture in three to five hyphenated words? Four, honest alt text? Five, hidden data checked?
Five minutes per page, once, and the work is done — the image keeps paying you back in faster loads and image-search traffic for as long as the page is live. Start with the heaviest image on your site.
Frequently asked questions
What is the best image size for a blog post?
1,200 pixels wide for a hero or featured image, 800 pixels for in-body images, and under 150 KB per file. On this post's own photo, 1,200 pixels at JPEG quality 80 weighed 119,598 bytes — about 117 KB — down from 1.5 MB straight from the camera.
Is WebP better than JPEG for SEO?
Yes, for photographs. The same 1,200-pixel photo weighed 76,436 bytes as WebP at quality 80 versus 119,598 bytes as JPEG — 36% smaller, with no visible difference. Smaller files load faster, and faster pages rank better. Every modern browser supports WebP; convert with the free Image Converter.
Does alt text help SEO?
Yes. According to Google's image best practices, alt text helps Google understand what an image shows, which is how the image can rank in Google Images — and it makes the page usable for people who use screen readers. Describe the picture in plain words, under about 125 characters, and never stuff keywords into it.
How do I check how big my images are?
On your own computer, right-click the file and check its size before you upload — anything over 200 KB for a web image deserves a second look. The Image Compressor shows the size as you work, and the Exif Reader shows the hidden metadata a photo carries, including its dimensions and GPS location.
References
- All worked figures in this post were measured with Pillow on the photos used in this post — original 1920 × 1280 file 418,275 bytes; 1,200 px JPEG quality 80: 119,598 bytes; quality 60: 81,293 bytes; 1,200 px WebP quality 80: 76,436 bytes; 800 px JPEG quality 80: 63,899 bytes; simulated 4,000 × 2,667 camera original at quality 95: 1,573,032 bytes (accessed 18 November 2026).
- Google Search Central — “Google Images best practices”: descriptive filenames, alt text and responsive images (developers.google.com/search/docs/appearance/google-images, accessed 18 November 2026).
- Google Search Central — Core Web Vitals: a good Largest Contentful Paint is under 2.5 seconds (web.dev/articles/lcp, accessed 18 November 2026).
- Google Developers — WebP: lossy WebP images are typically 25–34% smaller than comparable JPEG images (developers.google.com/speed/webp, accessed 18 November 2026).